Creality 3d New Upgrade Silent 1.1.4 Installing the motherboard
Perform any printing before installing the motherboard to make sure the previous one is connected correctly and working.
Loosen the screws and remove the main board cover.

Note that the fan wire is connected to the main board.

Remove all connecting wires from the motherboard.

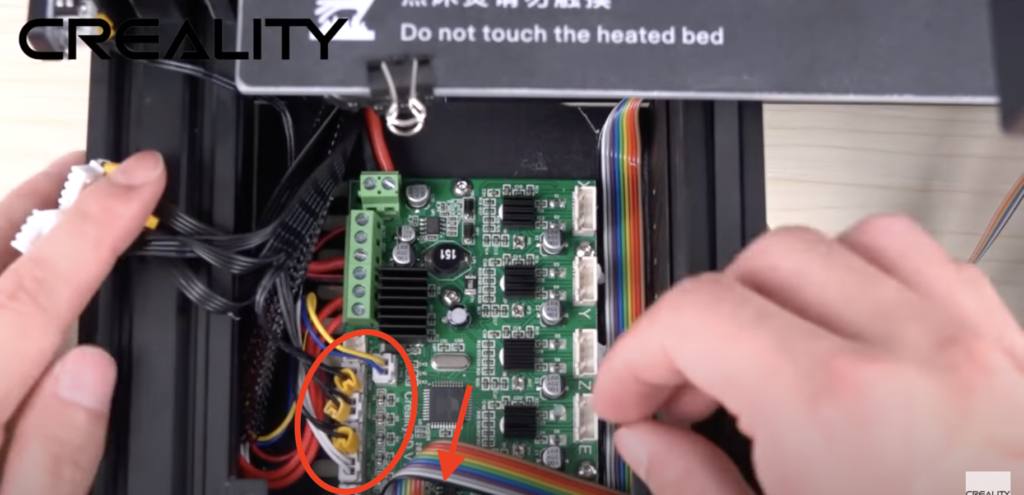
To remove these wires, loosen the screws:
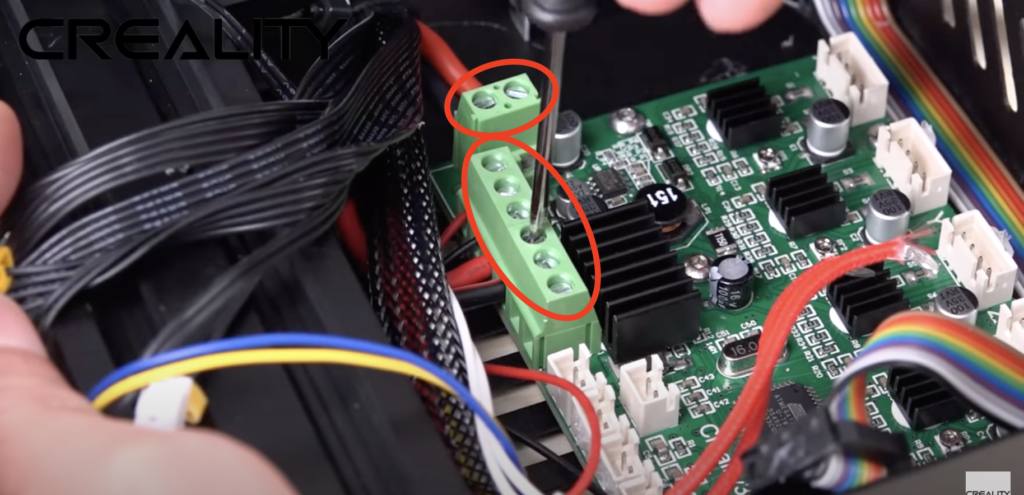
Loosen the main screws and take out the motherboard.

Take out the prepared motherboard, align its direction in the motherboard case.


Replace the screws and secure the motherboard.
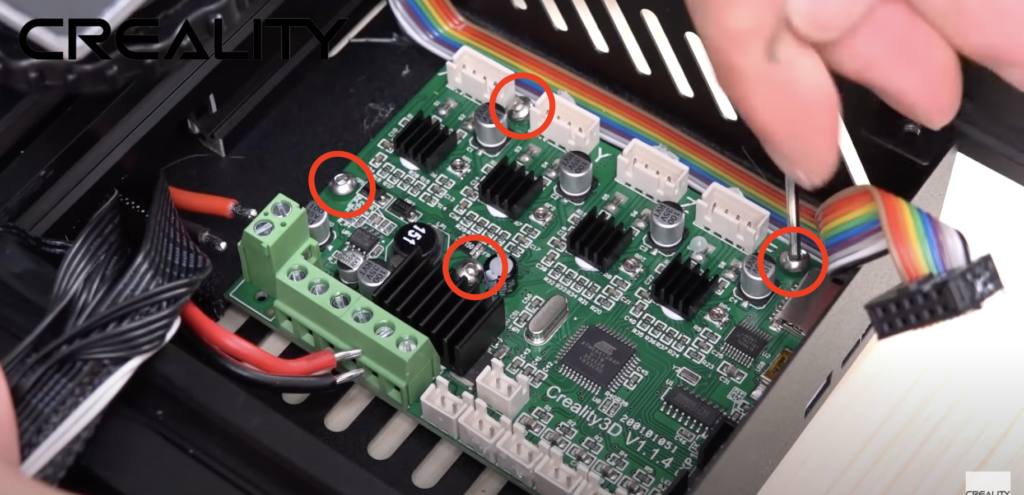
Now you can connect the wires. For help, you can use the instructions.


Connect the fan wire of the board.
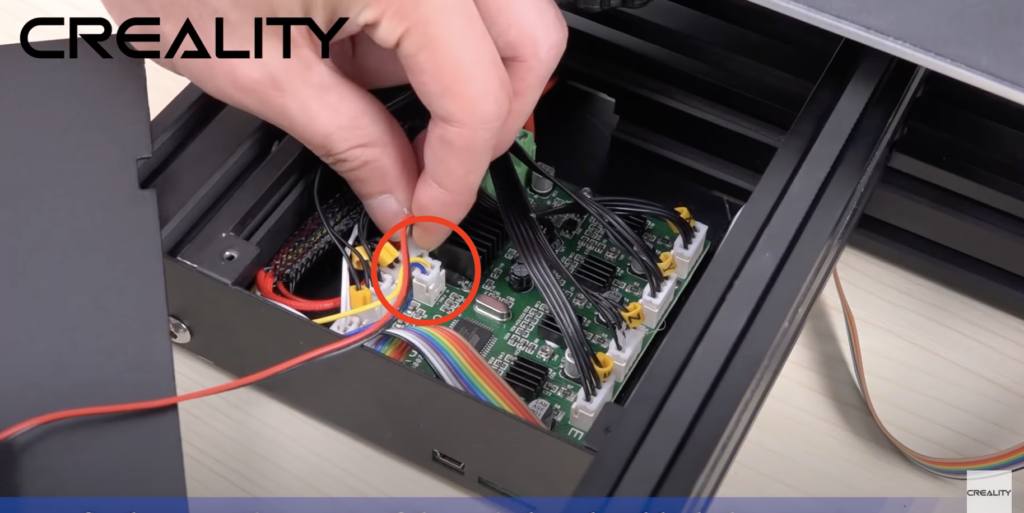
Fasten the board protection cover and tighten the screws.

Print any part after installing the motherboard to make sure it works correctly.






Author: Ad
More articles from ad