This material describes such a parameter as “Extrusion Width" or "Actual line width”For Simplify3D software.
The technique for finding the actual extrusion width is derived empirically and is not theoretical data recognized by the scientific community. However, I tested this technique on nozzles: 0.3, 0.4, 0.5, 0.6, 0.8, 1, 1.2, 2, 4, 6 mm. Works flawlessly.
Find the actual line width for the given layer height.
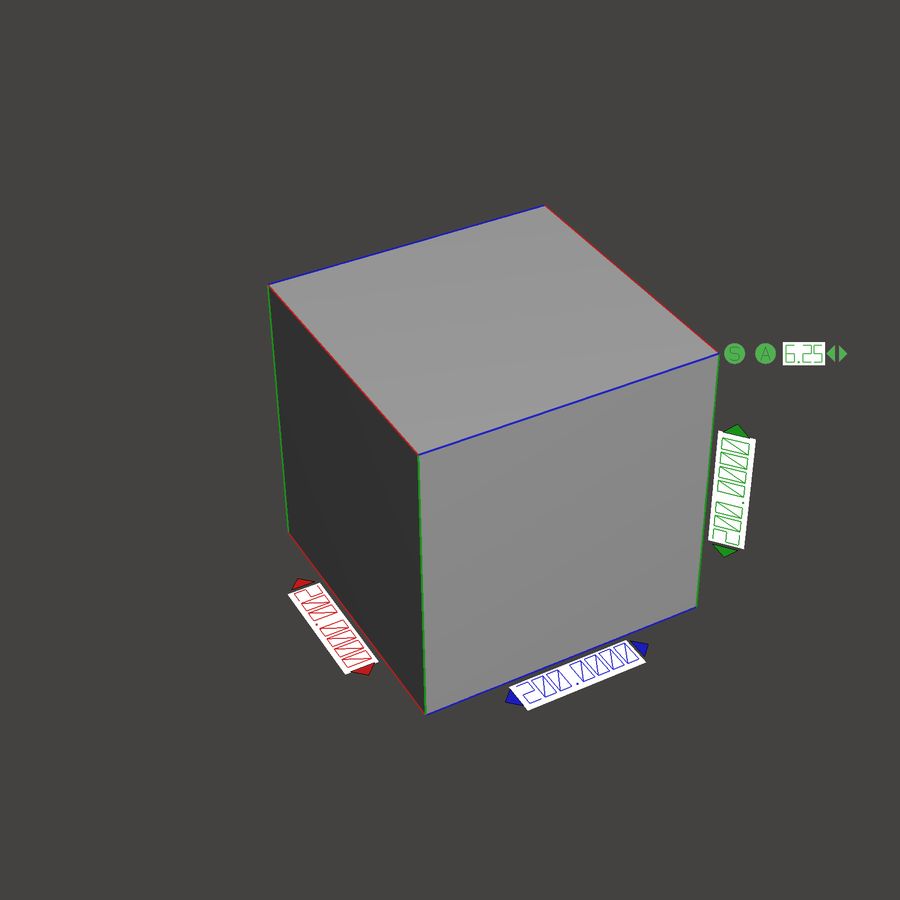
- In the Simplify3D program, you need to set the value Extrusion Width equal to two nozzle diameters.
- Set the layer height equal to half the nozzle diameter. X0 = D / 2, where D is the inner diameter of the nozzle.
- We set the standard print speed, as a rule, it is 50 mm / sec. Speed generally does not affect the width of the extrusion, but if the temperature of the extuder is not enough, the width will decrease due to under-compression of the material. The material simply won't have time to melt properly. You can read separately about the influence of speed and other factors on the quality of 3D printing in separate article.
- Run a test print when Infill the model with a full continuous fill, where each subsequent layer changes the direction of the fill by 90 degrees. I recommend printing at least 20-30 layers, because the first layers cannot show the whole essence of the picture due to the greater pressure of the first layer.
- If a grid appears, decrease the value of this parameter by 0.1mm and start test printing again.
- Decrease the value by a multiple of 0.1 mm and start test printing until the grid disappears.
 For the convenience of the testing process, so as not to restart the 3D printer for each new test, I made one G-Code from several processes. Each process had its own setting for the extrusion width. You can read how to do this in separate note... In the output, it looks like this:
- When the mesh has disappeared, it is necessary to carry out several more test prints, changing the value Extrusion Width by 0.01 both up and down, until a mirror surface is obtained without overlapping layers and without gaps. When printing with PET-G plastic, the surface should be shiny!

- If a mirror surface cannot be obtained and you see underInfill or overflow of material, it is necessary to adjust the material flow by increasing or decreasing the value accordingly Extrusion multiplier.
- After the required surface is obtained, you need to remember the value Extrusion Multiplier (feed value, hereinafter P0)
It took me 3 samples to find the actual line width on the Ender18.
Keep in mind that if you are using different 3D printers with the same nozzle diameter, this does not mean that they will have the same actual line width. For example, I tested on 3 machines, which had the same nozzle diameter of 0.5 mm. The first and second were the Picaso Designer XL, and the third was the Creality Ender 3. The two Picaso Designer XLs had actual line widths of 0.56mm and 0.58mm, while the Creality Ender 3 had actual line widths of 0,47mm. This shows that each nozzle has its own individual extrusion width. Moreover, it changes during the 3D printing process, especially when printing with composite materials that simply bore the nozzle.
What to do when the layer height changes?
- When the layer height changes, the value of the actual extrusion width also changes, this must always be remembered.
- Each time changing (looking for) the actual line width when changing the layer height is a very long and boring task, so the line width can be compensated for by changing the feed.
- How to change the feed when changing the value of the layer height.
Let P0 - the value of the feed at the height of the layer X0, X0 = D / 2, where D is the diameter of the tool (nozzle), H0 - the layer height at which we calculated the actual line width, Xn - specified layer height, Pn - required feed for a given layer height.
Then Pn=P0*(1-((X0-Xn)/(10*X0))) or

What can be affected in terms of the quality of 3D printing?
- With the correct setting of the actual line width, you will have no mesh at full fill, because the layers will fit tightly to each other.
- With the correct setting of the actual line width, you will not have sloshing of adjacent layers on top of each other.
- With the correct setting of the actual line width, you will have the correct tension of the upper and lower floors and the correct tension of the bridges.
- If the actual line width is not correct, plastic sags may appear on the side surfaces.

How often should the actual extrusion width be checked?
It depends on the materials you use in 3D printing. If you primarily use composites, I advise you to do so weekly, because the filler in composites bores the nozzle very quickly. If you do not use composite materials, then you can check and adjust once every two months.


Author: Studia3D aggregator
More articles from Studia3D aggregator