Why do you need thickness analysis in 3D printing?
Why is it necessary to perform thickness analysis in 3D printing? First, 3D printing is characterized by the equipment that makes the product. Secondly, 3D printing is characterized by the chosen 3D printing technology. In both cases, the main parameter that determines the quality of 3D printing is the resolution of the 3D printer and technology in combination. The output resolution will manifest itself not only on holes, chamfers, mates, but also, mainly, on thicknesses. If the thickness of the walls or of a certain area turns out to be less than the resolution of the equipment, then we may face the following problems:
- The 3D printer will not print a thin-walled area.
- The 3D printer will print a thin-walled area with gaps and interlayers
- The model will be incorrectly bent and shrink in the thin wall section.
Typically, the distribution of minimum thicknesses and 3D printing technologies is done in the following order:
| 3D printing technology | Minimum wall thickness |
| SLM | 1 mm (less thickness should be agreed with a specialist) |
| FDM | 1.2 mm (less thickness should be agreed with a specialist) |
| MJM (MJP) | 0.3 mm (less thickness should be agreed with a specialist) |
| SLA (DLP) | 1 mm |
| SLS | 0.9 mm |
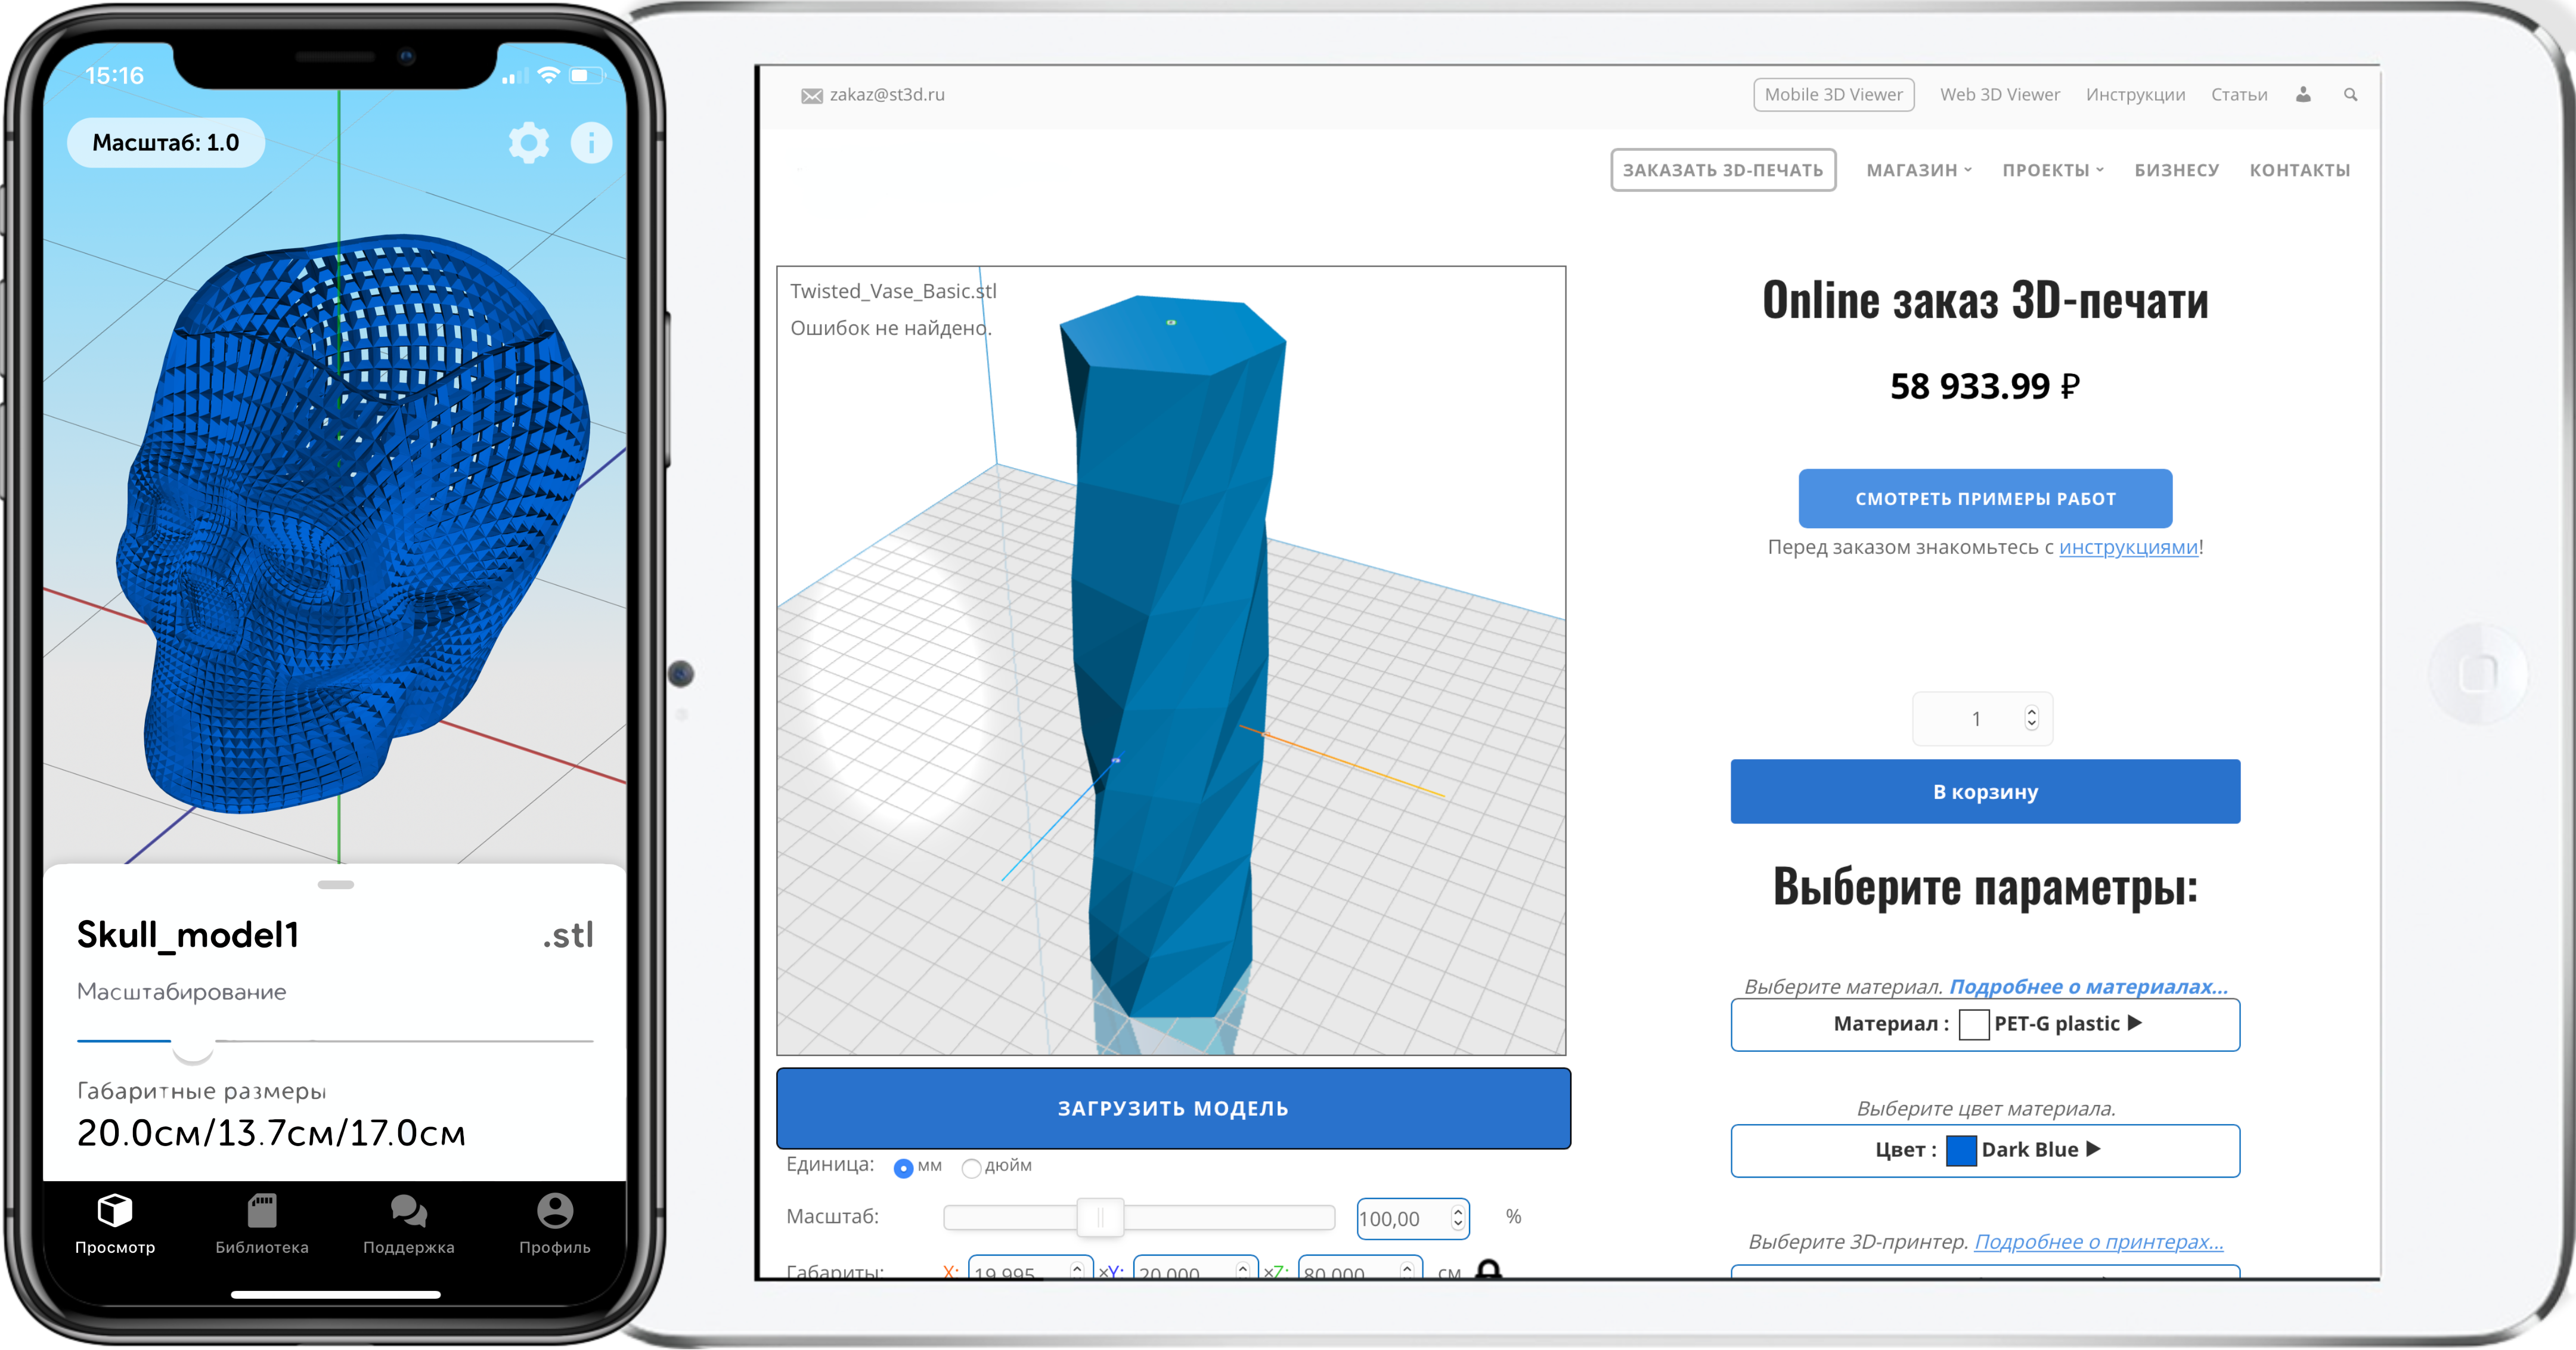
To avoid such moments, when preparing a model for printing, you must be able to analyze the thickness. To do this, you need to master one tool in Meshmixer or NetFabb. Please note that before checking the model for correct thicknesses, you need to make sure that the model matches the rest requirements for 3D printing.
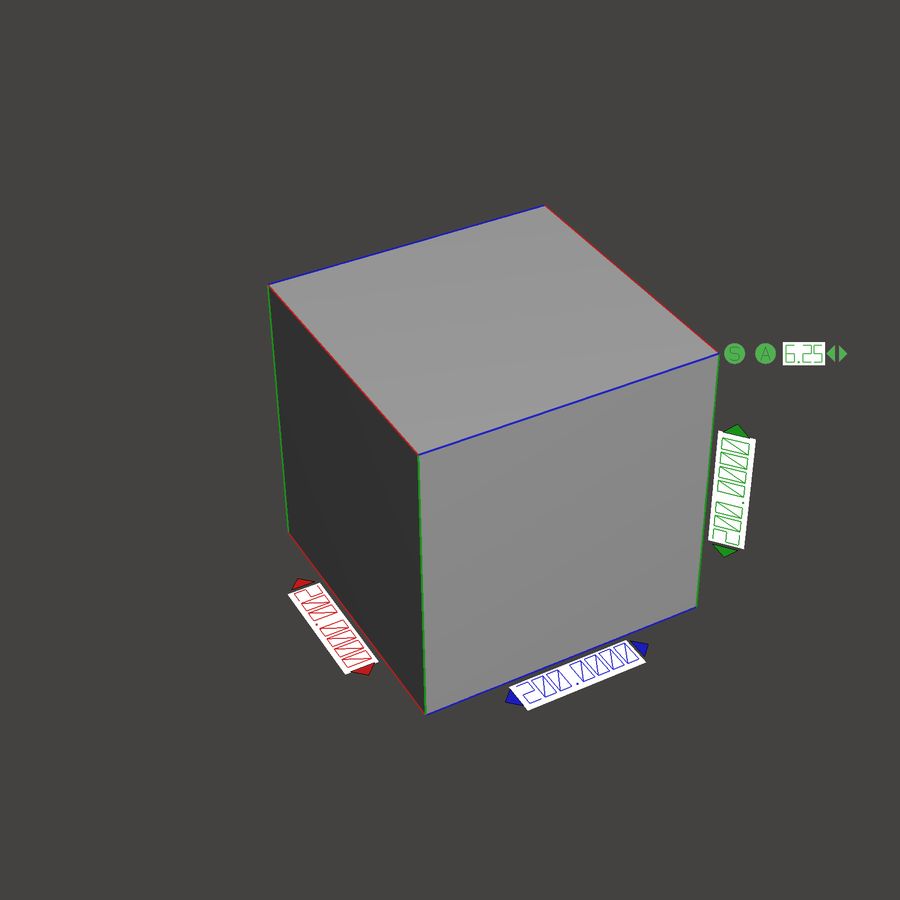
Thickness Analysis in Meshmixer?
After importing your model, go to the “Analysis” tab and click on the “Thickness” button. In the “Min Thickness” block, set the minimum allowable thickness.

The program will highlight in red those areas where the wall thickness is less than the minimum specified value. You can download MeshMixer here to register:.
How to check in NetFabb?
After importing your model into the working area of the program, you need to click on the "Wall Thickness" button.

Next, in the Wall Thickness Threshold window, you need to set the minimum wall thickness.

By analogy with MeshMixer, the program will show you in red those areas where the wall thickness will be less than the specified one.
For analysis questions from our side, write to the mail 3dprint@studia3d.com.com
What will happen if you do not take into account the parameter of the minimum thickness?
The figure below shows an example of non-compliance with thickness requirements.

On the left, a 3D model is shown with areas where the wall thickness is reduced to zero and has a dimension less than the required thickness for high-quality 3D printing. The right part shows the prepared code for a 3D printer, opened in the mode of displaying the trajectory of the extruder. As you can see, in places where the thickness does not meet the requirements, the part looks completely different from the model.
Example Aircraft SU-30
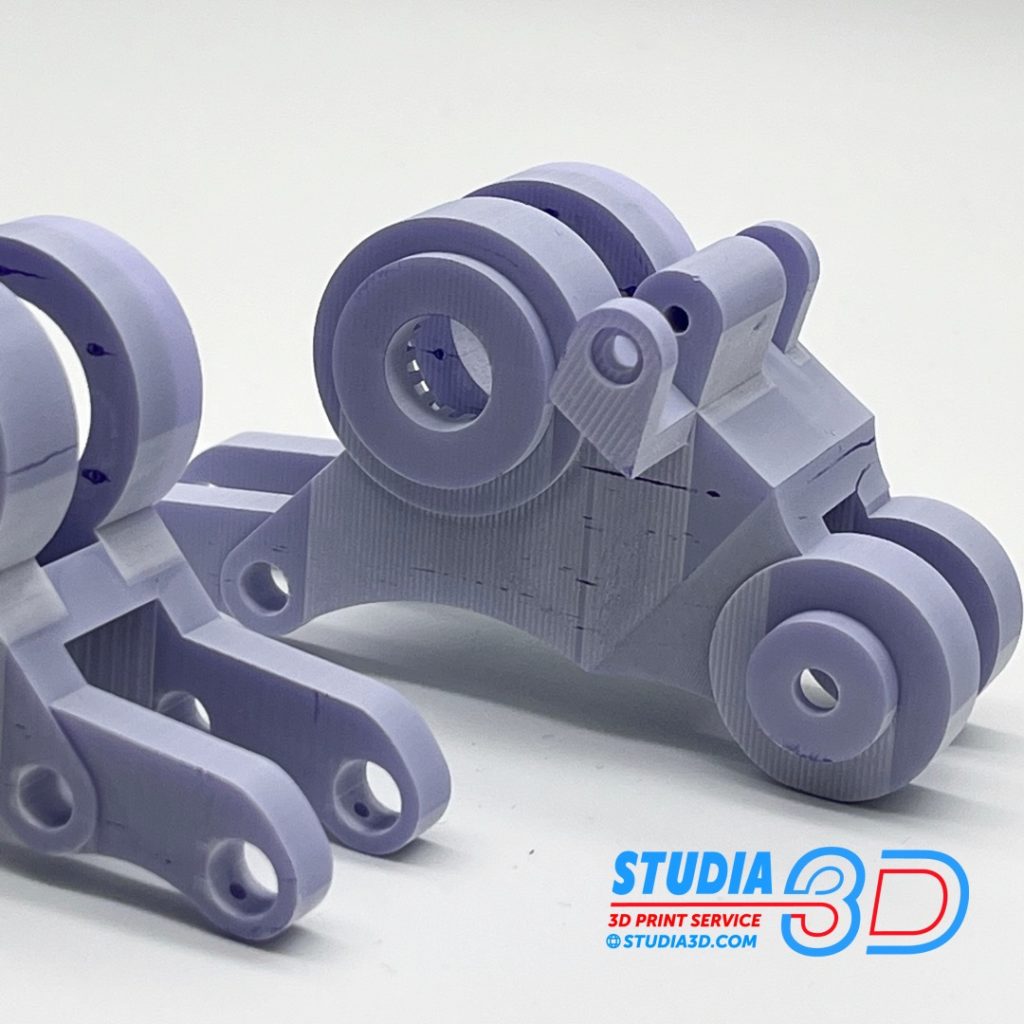
Let's consider another example of incorrect thickness on the example of a model aircraft SU30, handed over to us for manufacturing as a layout for classrooms.

On the left, you can see that the model does not meet the minimum required thicknesses for 3D printing. On the right is the model after optimization. Let's take a look at the view below.

As you can see exactly the same problems. The print result can be seen in the photo below, both for the non-optimized model and the optimized one.

You can download a completely finished and corrected model of the aircraft for printing at the link.
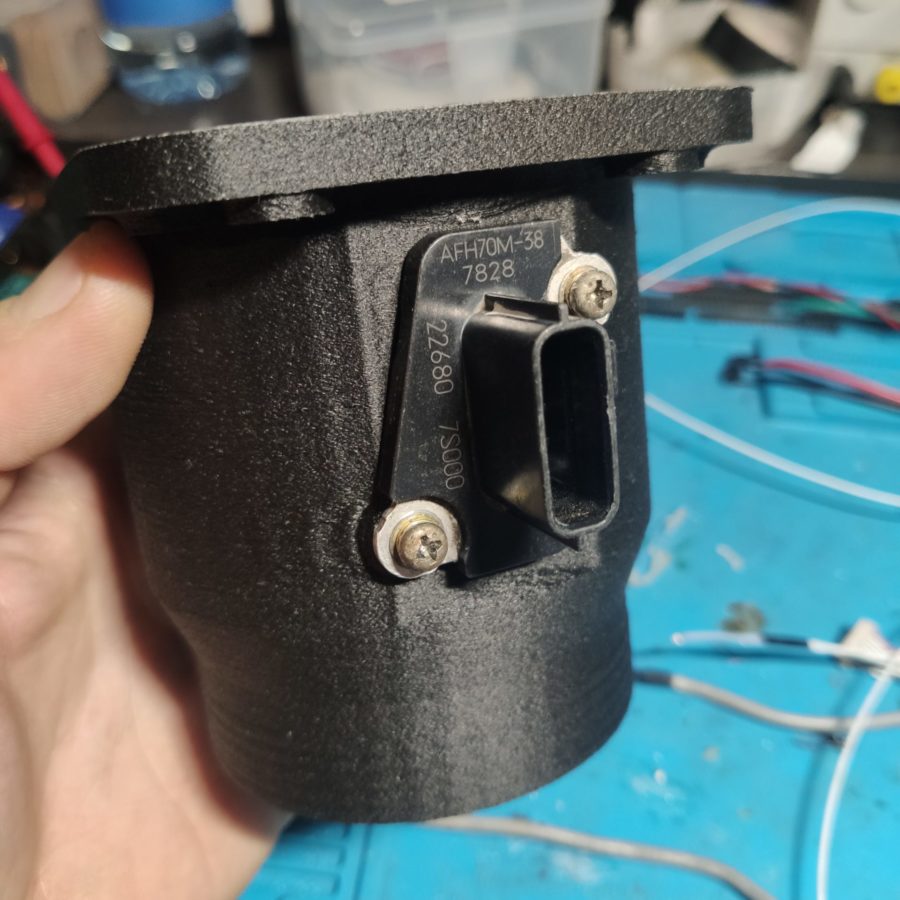
Example Stream separator
Let's consider another trivial situation where the wall thickness can affect not only the appearance, but also the direct functionality. The product will have to be a flow separator after 3D printing.

Similarly, from the previous situation on the left, we can see a critically small wall thickness.

As you can see in the photo above, in the first case, the 3D printer simply could not realize the wall thickness that was originally set. This means that the functionality of the product is lost. That is, the liquids will mix. In the second case, the printing went through without problems. Which means the part will function properly. Although there are walls in both the first and second cases, the correct thickness directly affects the manufacture.
To compare 3D models yourself, download.
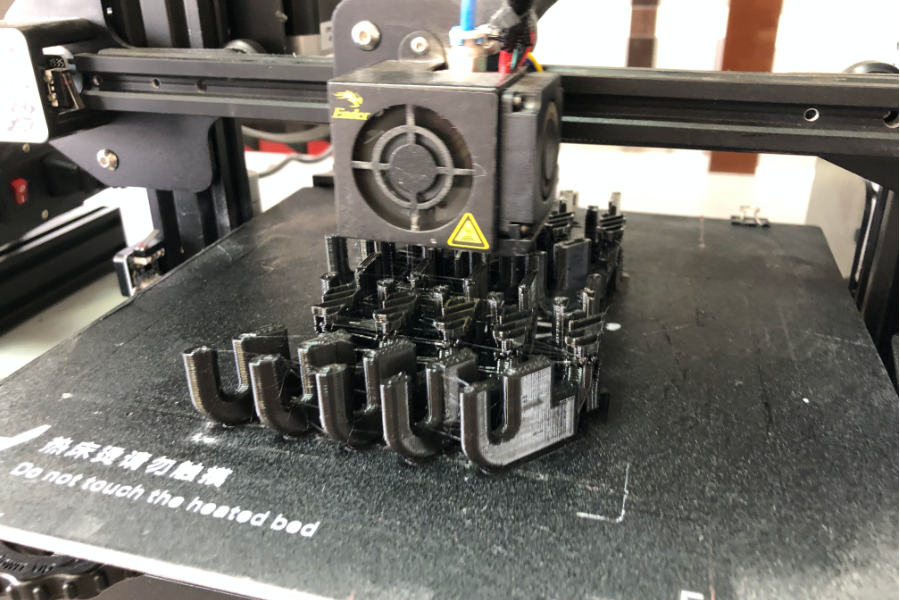
Example Flexible retainer
The model must be adjusted for wall thickness, not only in the case of hard plastics. The same need is present in flexible materials. The images below show a model of a flexible retainer that was planned to be printed from the FLEX material.

Similarly, on the left is a model that does not meet the minimum required thickness, and on the right is a corrected version.

The result of 3D printing meets the stated expectations.
To compare models on your own, download.
Exception from melted
Sometimes there are exceptions to the rule though. The photo below shows an example when the thickness of a metal product after 3D printing using SLM technology is less than 1 mm.


It is important to understand that such a result is achievable only if our specialists work closely with designers, so do not be shy and ask your questions by e-mail 3dprint@studia3d.com.com


Author: Studia3D aggregator
More articles from Studia3D aggregator