Vase Mode in 3D printing is a special mode that allows you to print products in one wall with maximum speed and durability. It's not about printing vases on ordinary personal 3D printers. We will talk about industrial equipment, when using this mode you can save a huge amount of material and time for the manufacture of final products.
For example, when 3D printing such a product using the technology FGF:

Or 3D printing of such a product using technology Metal arc welding 3D print :

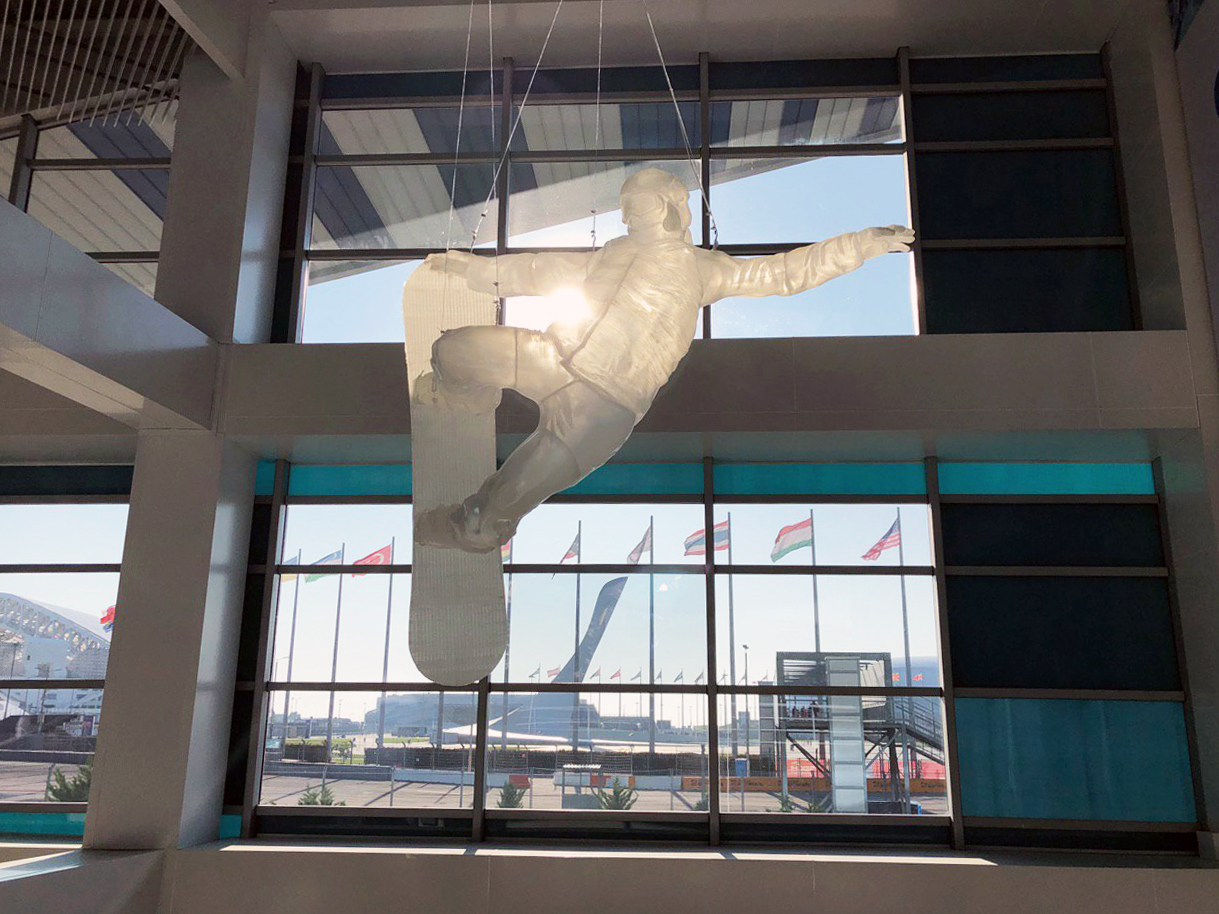
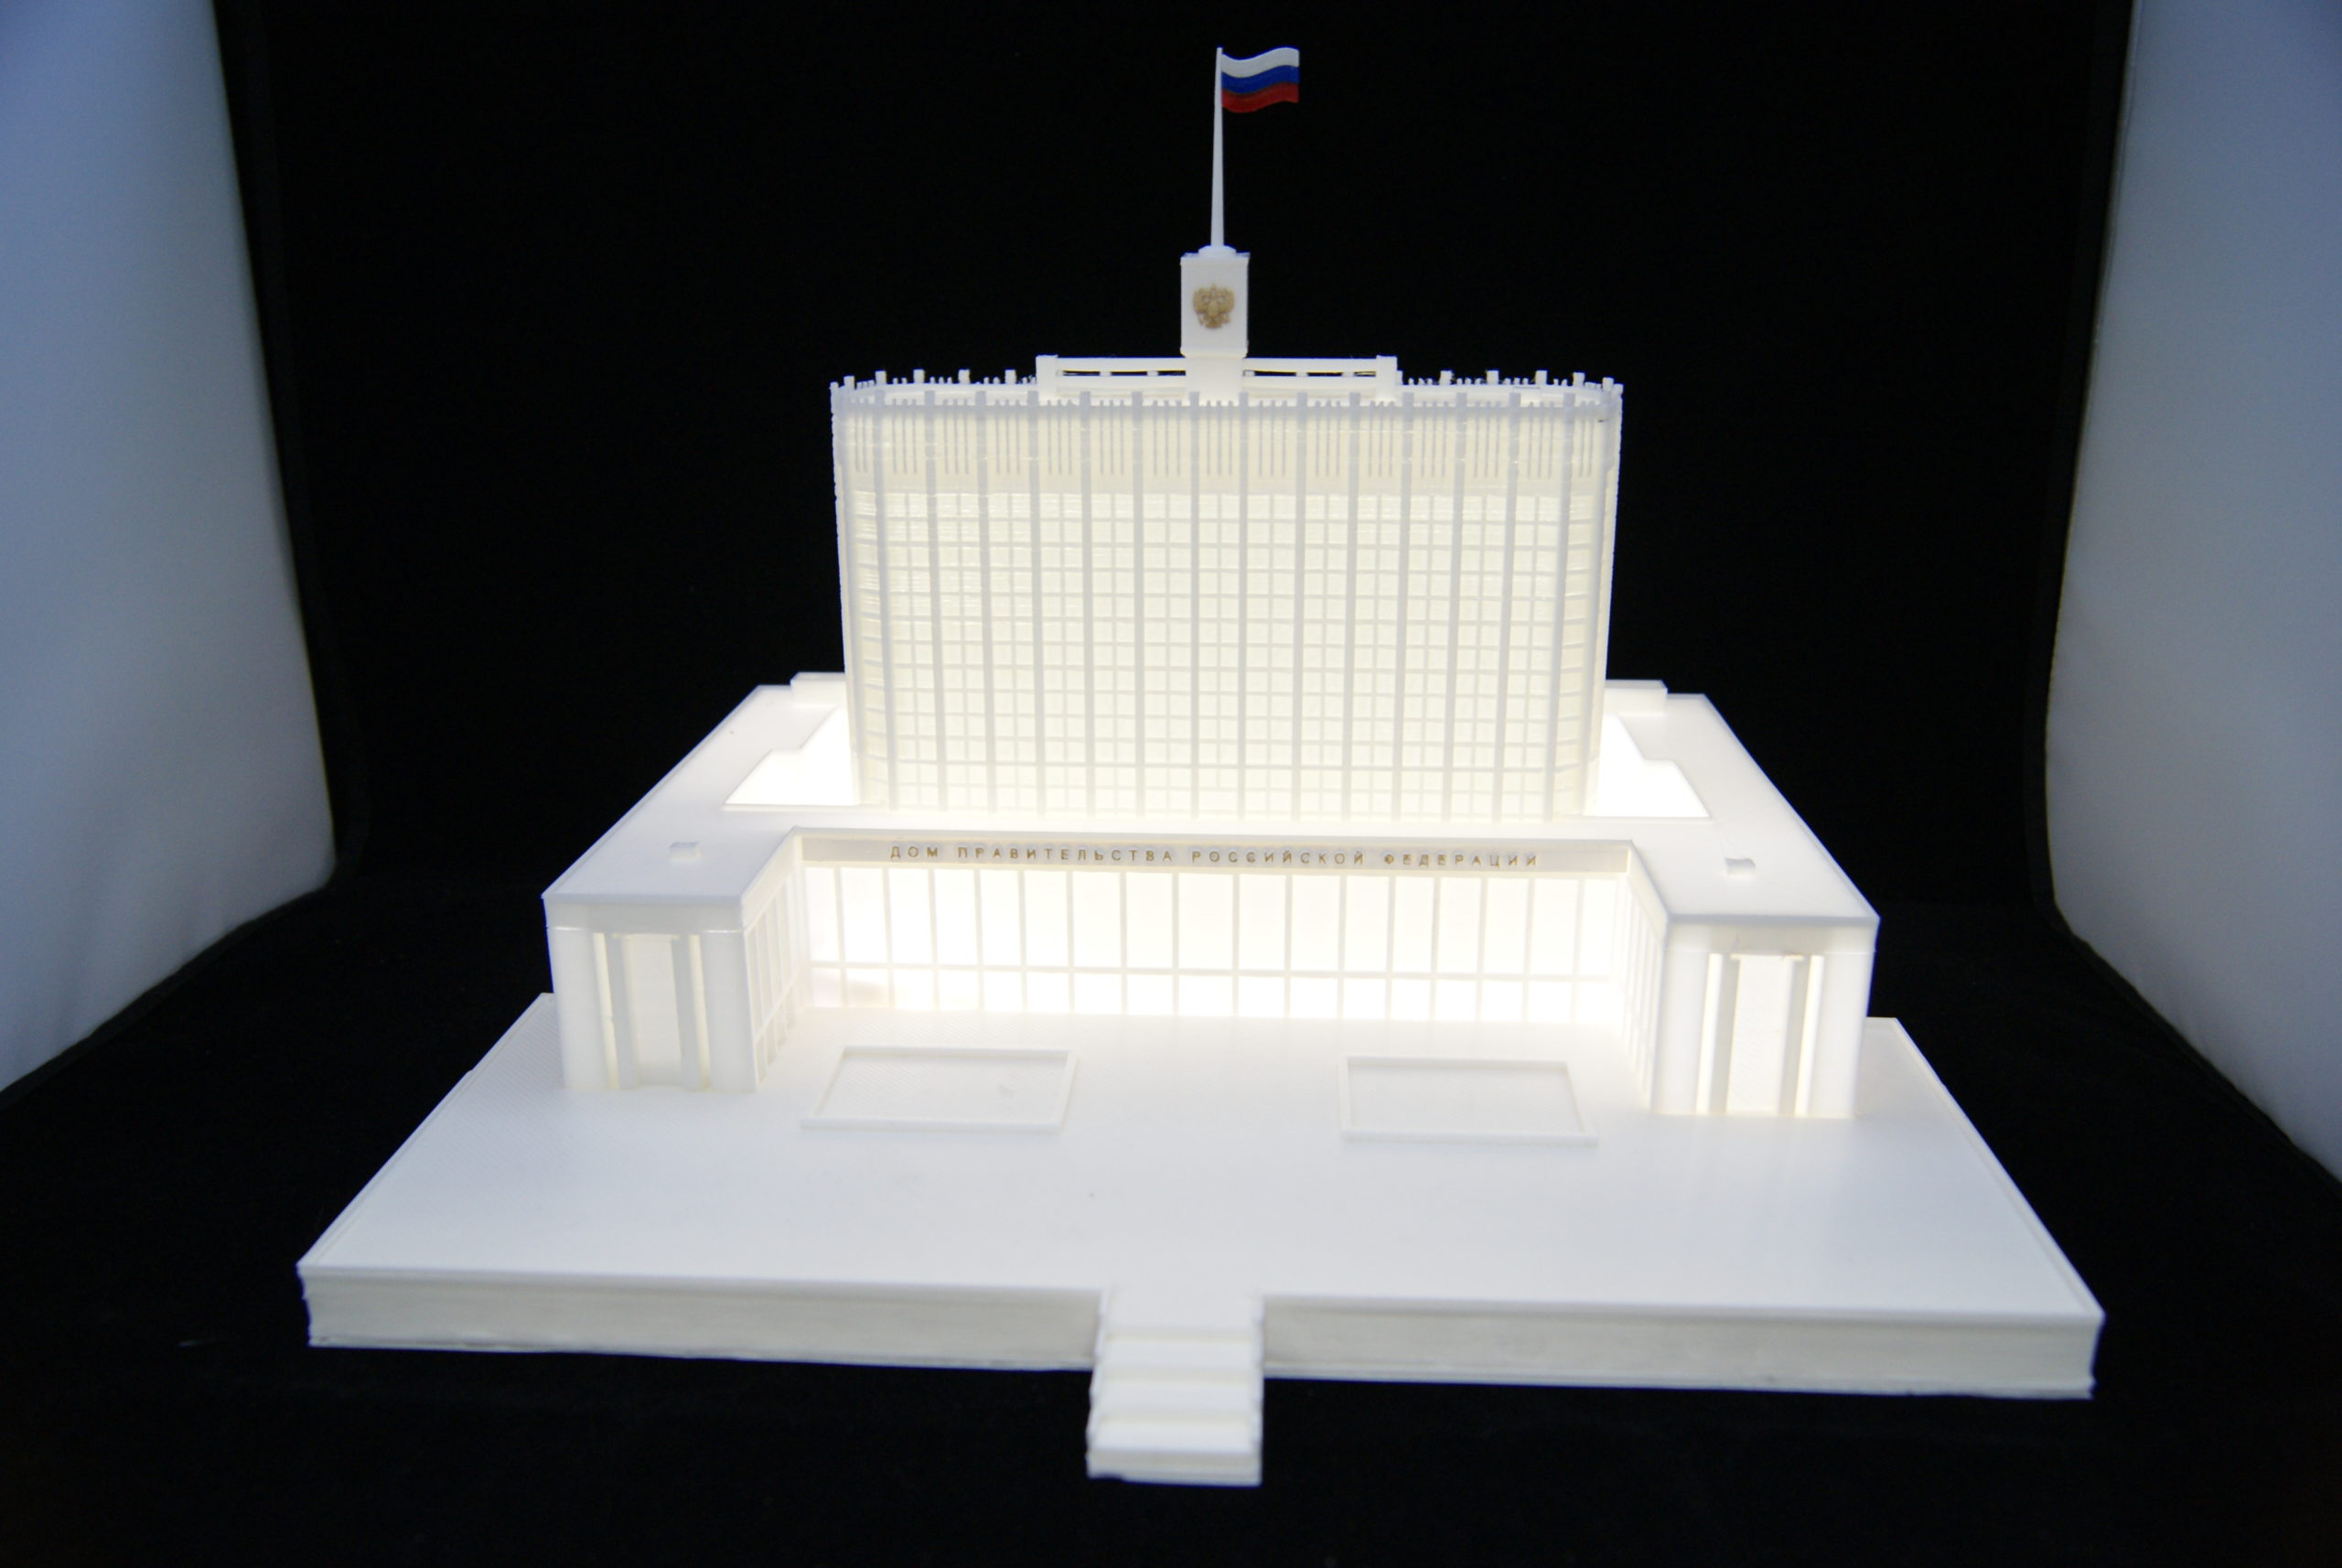
In order to feel the full significance of the regime vase mode I propose to consider one of our projects for 3D printing a huge sculpture 5 meters high.

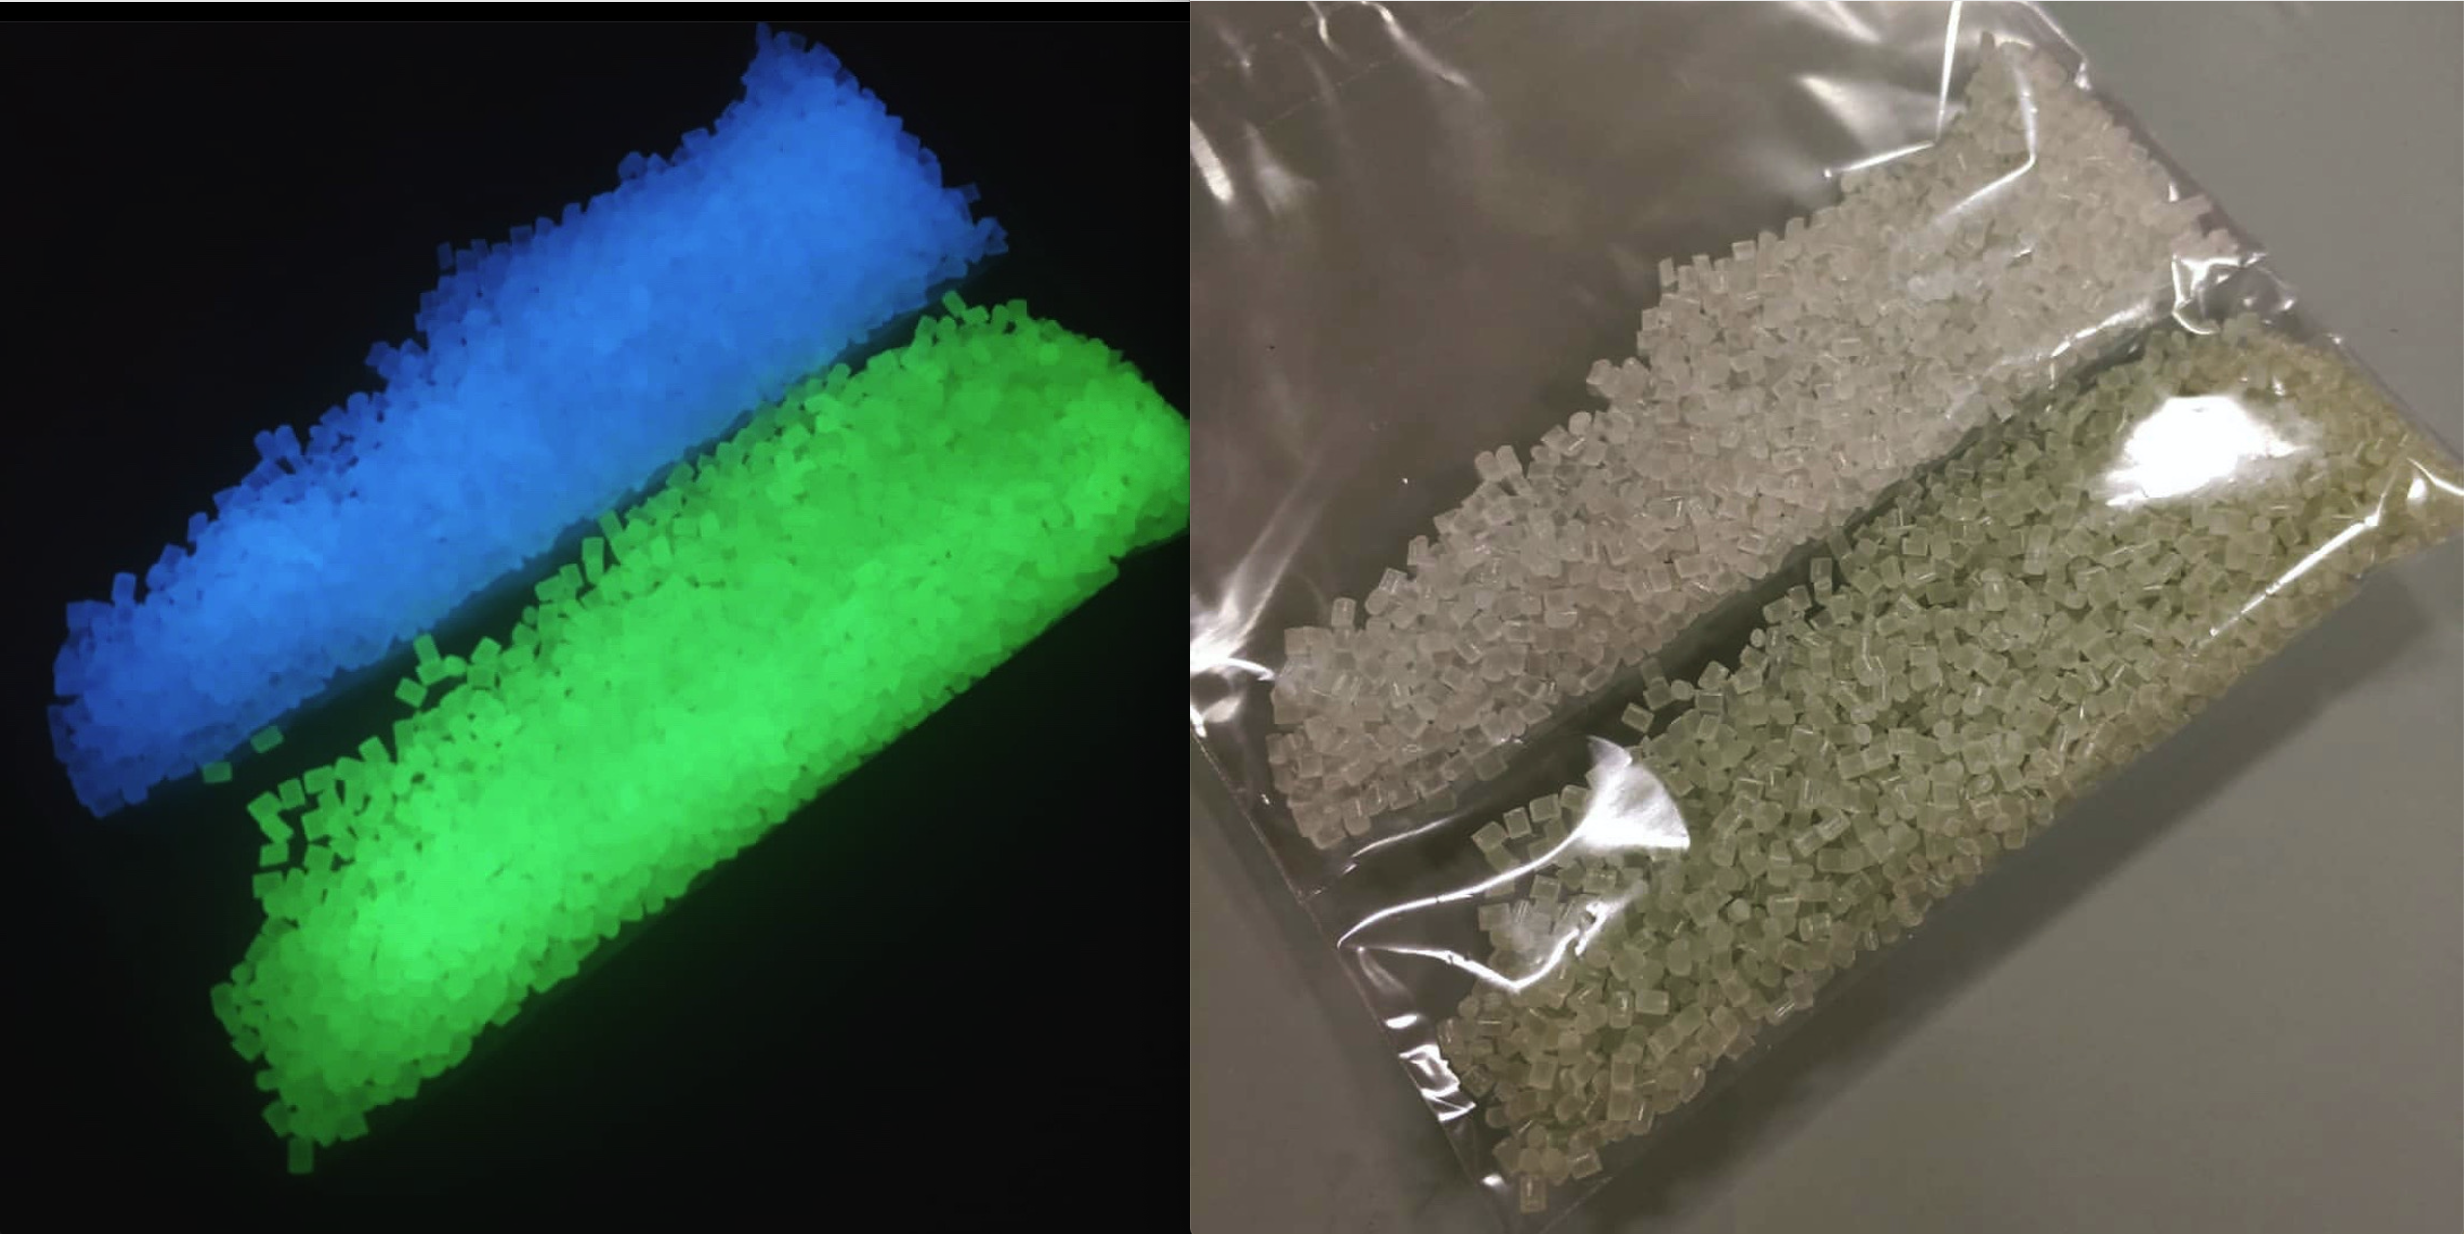
Pay attention, in the picture the element is highlighted, which was made in Vase Mode. The size of this element is 1,5 meters in height. As a comparison, note that 3D printing of this element from a figure in the mode vase mode was 30 hours, which is 12 times less than 3D printing without using this mode, which directly affects the cost of the final product. Time is money, as they say. In terms of strength, of course, the part has less strength and stiffness compared to normal printing. For this we use special composite materialswhich are several times stronger than conventional thermoplastics.
If the difference between using this mode and without it is clear, let's move on to basic rules that must be followed when creating a 3D model for this mode:
1. Absence supporting material.
If you want to save money by using Vase Mode, then you first need to learn how to save money by properly designing the 3D model, which will ensure that there is no supporting material. As a rule, 95% of models can be adjusted in such a way that there is no support, while the functionality and visual component of the product does not change. As an example, consider one of our projects for a reception desk that was designed specifically for 3D printing without any supporting material.

In order to make sure that the product is properly prepared for 3D printing without supports, you need to check the 3D model for the absence of overhanging elements, the angle of which relative to the vertical is no more than 35 degrees. At the same time, it is permissible to have angles up to 45 degrees in a small area with a length of no more than 20 cm horizontally, when using a large width of the actual 3D printing line.
In the original version, the corners did not meet the necessary requirements. Therefore, the program for the preparation of the G-code showed the need to build supporting material.

However, after making changes to the model, the need for supporting material has disappeared.

As you can see, nothing has changed visually. As in most cases, if you approach the design correctly.
2. Correctness of the polygonal mesh.
Although printing in vase mode is carried out in a certain wall thickness, equal to the actual 3D printing line, you do not need to set this wall in the model. In fact, it is necessary to make the outer surface, which will be bounded at the top and bottom by a plane so that the surface is solid and the polygonal mesh is closed. It is important to remember that for 3D printing in vase mode no one canceled requirements for 3D models for 3D printing.

3. Correct design of the “bottom” and “cover” of the product.
In the case of designing the upper and lower floors from the point of view of designing a 3D model that will be produced in the mode vase mode, no special steps to build the bottom or lid not provided. However, this fact must be negotiated with the technologist separately, because in the process of preparing the control program, the technologist will set different modes of 3D printing. It is important to understand only the fact that if we go to make the “bottom” of the part (Variant 1 in the picture), then the increase in cost will be insignificant, since when 3D printing this bottom, the material will fit onto the 3D printing platform. And if we want to make a “lid” (Variant 2 in the picture), in other words, if we want to provide an overlap while keeping the void inside the product, then the increase in cost will be significant. Since the first layers of overlap will fall into the interior of the part. Several layers of this overlap are required to completely fill the top layer. How many overlap layers are needed can only be said by a 3D printing technologist.

4. 3D printing parameters.
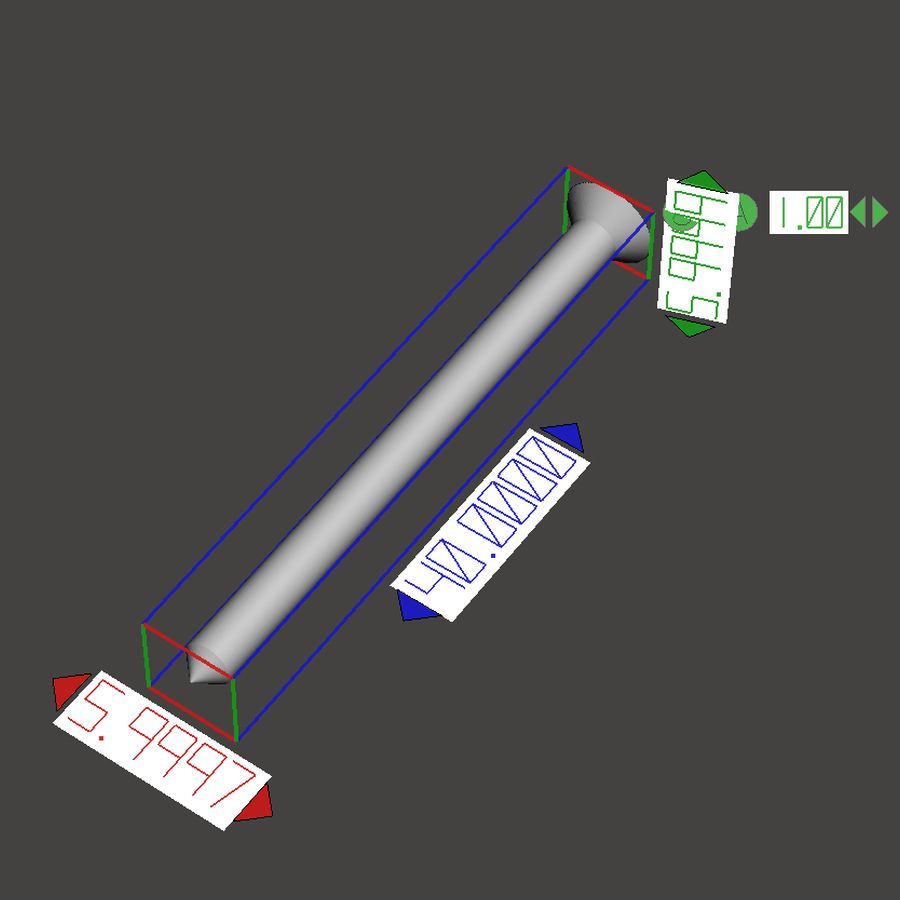
It is worth considering the need for the correct selection of working tools in the process of 3D printing and 3D printing parameters. Discuss with the technologist the actual line width and layer height for 3D printing your product. Otherwise, you can get holes, the presence of which at the minimum will mean rejection, and at the maximum will lead to incorrect laying of the higher layers. Let's show with an example:
Initial parameters: nozzle 5 mm, layer height 2 mm.

As you can see, in the picture, these parameters are not suitable for this product, because holes will appear in the model. Therefore, we are trying to increase the actual line width (we take the widest nozzle we have at the time of this writing): nozzle 7 mm, layer height 2 mm.

In this case, the "hole" is gone, but not quite. Trying to decrease the height of the layer. And in order to save as much as possible on material, let's go from smaller to larger. Trying: nozzle 3 mm, layer height 1 mm.

Almost, but not quite. Let's try to increase the nozzle diameter: nozzle 5 mm, layer height 1 mm.

Hooray. Happened!
How to correctly enable Vase Mode in 3D printing?
If you have correctly prepared a 3D model and selected a working tool, then for high-quality 3D printing, you will only need to complete the last point: correctly set up the Vase Mode both in the software and in the hardware.
1. Take into account the Vase Mode in the slicer.
Usually in slicer there is a special setting that activates the Vase Mode. For example, in Simplify3D it looks like this:

This mode activates the desert inside the model, and builds the outer perimeter using the "spiral" construction method.
BUT! It is important to understand the fact that we mean by vase mode a mode in which emptiness will remain inside. In other words, any provision of a cavity inside is already a mode vase mode... Simplify3D has a huge number of settingsthat allow you to get a good result in a huge number of ways. For example, such a mode can be set without activating the mode vase Mode, with the following settings:

The difference is that sometimes there is a need to print 2 or even 3 perimeters. Therefore, activating the item (Vase Mode) will not get rid of.
2. Turn on on a 3D printer.
In addition to the correct preparation of the code, it is necessary to understand that for the correct construction of the model in the hardware, many manufacturers lay this mode as an add-on. For example, in Colossus 3D printer there is such a button in the control center.

In fact, this setting does not activate any special Vase Mode in the 3D printer itself, but removes accelerations in all axes. That is, the printer prints at a uniform speed in all directions. Of course, this allows you to save a lot in printing time, but the main danger of this mode is that if the model has sharp corners along the cut in the horizontal plane, the printer may give an error, shift along the layer, break the trajectory, and much more. So always clarify exactly what functions this or that button carries, even if everything in the name seems very obvious.
If you want to pick up some ideas for yourself, you can get acquainted with the work of other designers on the official page Colossus .
Note that this approach works in any 3D printing technology where material is fed from a head moving along with the material supply system.


Author: Studia3D aggregator
More articles from Studia3D aggregator