Content
Introduction
Experiment plan
Preparing for the experiment
Experiment
Conclusions
Introduction
On December 6, 2021, we received the following comment from a client:
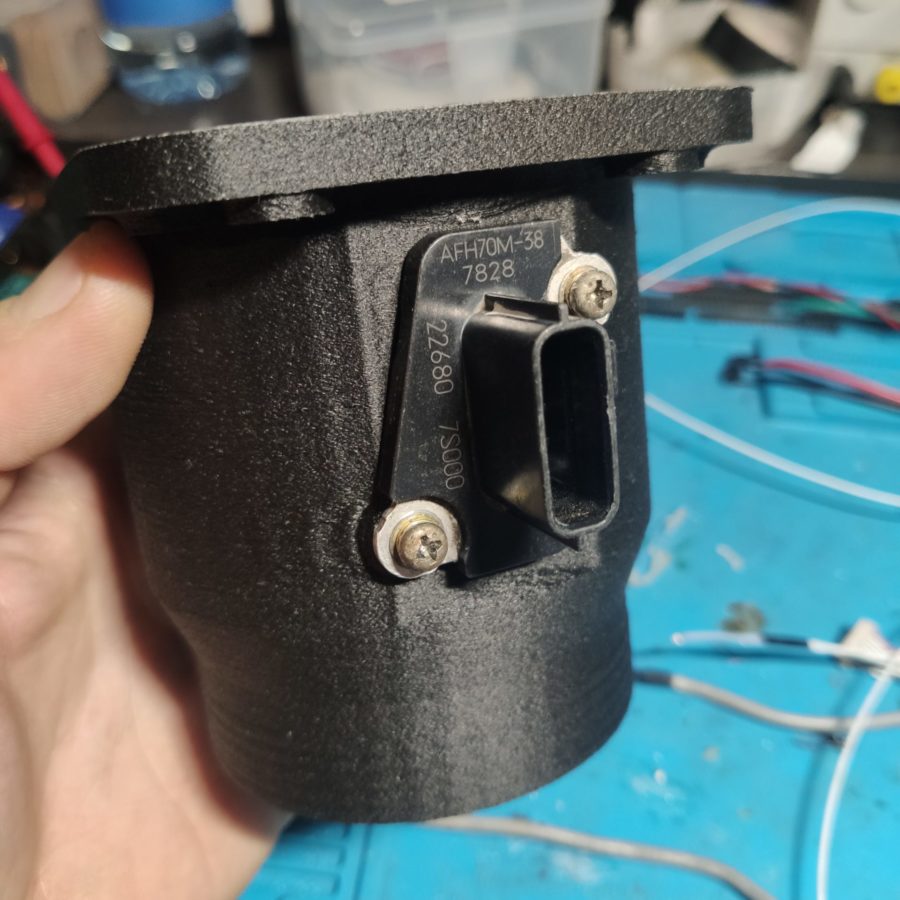
I unsubscribe because I promised feedback. The ordered products were supposed to be used as housings for prototypes of liquid level sensors. It was assumed that the walls of the case would be impervious to air. However, it turned out that this is not the case due to the peculiarities of the product printing technology. For this reason, one of the buildings was hopelessly damaged and the fifth (like a present from your company) building turned out to be very useful. This letter is not a complaint, but rather a proposal to warn customers about the features of printed products - for the future. Good luck!
Let's first understand why the question of tightness itself arose. The fact is that products that are made on a 3D printer have a certain porous structure.

Earlier, we already touched on the issue of the correct settings for 3D printing modes when we talked about strength of printed products and about choosing the right actual extrusion width. Now we need to understand whether the product is airtight even when all settings are selected correctly.

Based on this, we decided to conduct a tightness test of products printed on a 3D printer using 4 main 3D printing technologies: FDM, SLS, SLA, SLM. These studies can be considered experimental, empirically conducted. The tightness of the products was investigated in atmospheric conditions at room temperature of operation and with ordinary water. If it is necessary to carry out such studies under load (positive pressure), as well as using gases, please write about this in the comments.
Experiment plan
For the experiment, the object of study was the “Glass” product with different wall thicknesses.
Product parameters:
Inner diameter - 60 mm
Height - 100 mm
Wall thickness - from 0,8 mm to 2 mm
Bottom thickness - from 0,8 to 2 mm in accordance with the wall thickness
We are planning to print 3 products, gradually increasing the wall thickness. After each printout, we plan to pour water into each item for a day. After 24 hours, check the result for tightness.
Preparing for the experiment
We lead the modeling of the samples in the Fusion360 program.

Thus, we obtained the same type of 3D models of samples with wall thicknesses of 0,8 mm, 1,6 mm and 2 mm.
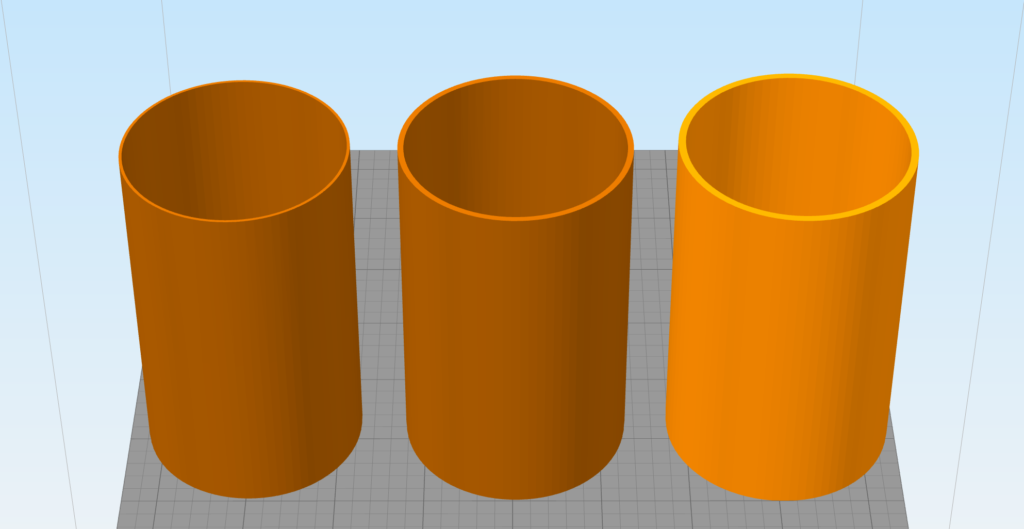
We start sequentially with FDM 3D printing. Let's print 3 samples at once.
Experiment
As a material for the studied samples using FDM technology, we use PET-G plastic of own production. We print on an Ender 3 3D printer with a modified extruder block.
Video
Pay attention to the handle at the 3D printer on which the GoPro camera is placed. You can buy such a pen in our store. Or say a 3D model to print on your 3D printer. GoPro was on charge for the entire time-lapse. A special cover for the camera helped us with this, which we also made on a 3D printer from this model.
The article is being supplemented.
Conclusions
The article is being supplemented.






Author: Studia3D aggregator
More articles from Studia3D aggregator